![]()

Specialists in 10mm models for the discerning wargamer
from Caesar
to Rommel… and beyond

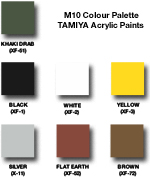
PAINTING GUIDE:
 |
 |
 |
 |
 |
 |
 |
 |
Click on the links above to view the galleries.
We welcome any comments, feedback or requests you may have. Click the Contact Me link above to have your say.
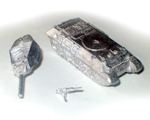
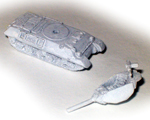
STAGE 1
|
||
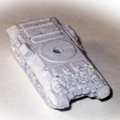
STAGE
2
|
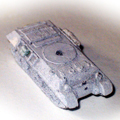
STAGE
2
|
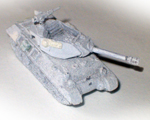
STAGE
2
|
Once
the
model is cleaned, extra detail
can be added to it. This
includes
baggage, netting, sandbags,
aerials,
crew, petrol cans,
packs -
the
list
can
go
on and on. This detailing
adds
individuality to
your
models and is well worth
the
extra effort. If you're
not sure what extras crews
used to add to their vehicles
during WW2,
just check out photos
of
the actual vehicles you'll
find plenty of inspiration
within them.
|
||
STAGE
3
|
||
STAGE
4
|
|
|
STAGE 5
|
||
STAGE 6
|
||